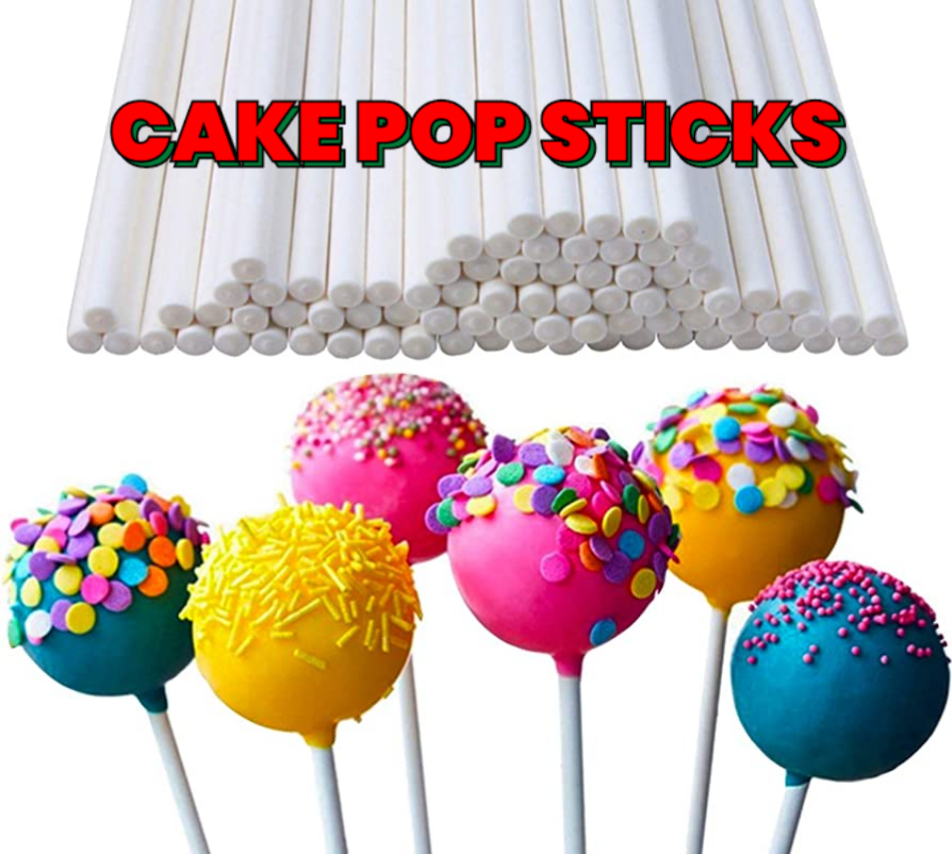
Cake pops have become a popular treat for celebrations, parties, and everyday indulgence. These delightful, bite-sized confections on a stick are not only fun to eat but also visually appealing. While pre-made cake pop sticks are widely available, crafting your own can add a personal touch to your creations. In this article, we’ll explore how to make DIY cake pop sticks at home, offering tips, materials, and creative ideas to enhance your cake pop experience.
Why Make Your Own Cake Pop Sticks?
Creating your own cake pop sticks can be a rewarding endeavor for several reasons:
- Customization: Tailor the design, color, and length of your sticks to match your theme or personal preference.
- Cost-Effectiveness: Making your own sticks can be more economical, especially for large events or frequent baking.
- Creativity: Handmade sticks allow you to incorporate unique materials and styles, giving your cake pops a distinctive look.
Materials Needed
To craft your own cake pop sticks, you’ll need some basic materials. Here’s a list of what you’ll require:
- Wooden Dowels or Bamboo Skewers: These will serve as the base for your cake pops. Choose the length and thickness that suits your needs.
- Paint or Decorative Tape: To personalize and decorate your sticks.
- Hot Glue Gun and Glue Sticks: For attaching decorations securely.
- Scissors: To cut any materials if needed.
- Sandpaper: For smoothing rough edges if you’re using wooden dowels.
- Clear Varnish: To seal and protect painted or decorated sticks.
- Craft Supplies: Ribbons, stickers, or any other embellishments you wish to use.
Step-by-Step Guide to Making DIY Cake Pop Sticks
1. Choose Your Base Material
Decide whether you want to use wooden dowels or bamboo skewers. Wooden dowels are sturdy and can be easily customized, while bamboo skewers are thinner and more flexible.
2. Cut to Size
Measure and cut your wooden dowels or bamboo skewers to the desired length. Most cake pop sticks are around 4-6 inches long, but you can adjust this based on your preference.
3. Sand and Smooth
If you’re using wooden dowels, sand the edges to remove any splinters or rough spots. This step ensures a smooth surface and prevents any splinters from getting into your cake pops.
4. Decorate Your Sticks
Now comes the fun part—decorating your sticks! You can use paint to add a splash of color or decorative tape for a quick and easy design. Apply a base coat of paint and let it dry completely before adding any additional designs or patterns.
5. Apply Clear Varnish
To protect your painted or decorated sticks, apply a clear varnish. This step will give your sticks a glossy finish and help preserve your designs. Allow the varnish to dry thoroughly before use.
6. Attach Embellishments
If you want to add extra flair, use a hot glue gun to attach ribbons, stickers, or other embellishments. This step is optional but can add a unique touch to your cake pops.
7. Let Dry
Allow all components, including paint, varnish, and glue, to dry completely before using the sticks. This ensures that your decorations stay in place and your sticks are ready for your cake pops.
Creative Ideas for DIY Cake Pop Sticks
1. Themed Decorations
Match the design of your cake pop sticks to the theme of your event. For a birthday party, use bright colors and fun patterns. For a wedding, opt for elegant designs with metallic paints or ribbons.
2. Seasonal Designs
Celebrate the seasons by customizing your cake pop sticks. Use pastel colors and floral patterns for spring, bright oranges and browns for fall, or festive reds and greens for the holiday season.
3. Personalized Touches
Add names or initials to your cake pop sticks for a personalized touch. Use a fine-tipped paintbrush or permanent markers to write names or messages on the sticks.
4. Use of Natural Elements
Incorporate natural elements such as twine, dried flowers, or leaves for a rustic look. These materials can add a charming, organic feel to your cake pops.
Also read: Whole Foods Cakes: Ultimate Choice for Your Celebrations
Tips for Success
1. Plan Ahead
Before starting your project, plan out the design and materials you’ll need. This will help streamline the process and ensure you have everything on hand.
2. Experiment with Techniques
Don’t be afraid to try different painting techniques or decorating styles. Experimenting can lead to discovering new and unique ways to enhance your cake pop sticks.
3. Ensure Drying Time
Properly drying each layer of paint or varnish is crucial. Rushing the process can lead to smudging or peeling of decorations.
4. Consider Food Safety
Ensure that any materials used in decorating your cake pop sticks are food-safe. Avoid using items that may pose a risk when coming into contact with food.
Conclusion
Crafting your own cake pop sticks at home is a fun and creative way to add a personal touch to your baking projects. With a few basic materials and a bit of imagination, you can create beautiful, customized sticks that enhance the presentation of your cake pops. Whether you’re preparing for a special event or simply enjoy baking, DIY cake pop sticks offer a delightful way to make your treats stand out. Embrace your creativity and enjoy the process of making your cake pops uniquely yours.
FAQs:
1. How do I make cake pop sticks at home?
Use wooden dowels or bamboo skewers, cut to size, and decorate with paint or tape. Seal with clear varnish for durability.
2. What materials do I need for DIY cake pop sticks?
You’ll need wooden dowels or bamboo skewers, paint, decorative tape, a hot glue gun, and clear varnish.
3. Can I use regular sticks for cake pops?
Regular sticks may not be sturdy enough. Wooden dowels or bamboo skewers are preferred for their strength and stability.
4. How can I decorate my pop sticks?
Decorate with paint, decorative tape, ribbons, or stickers. Apply a clear varnish to protect your designs.
5. How long should I let the pop sticks dry?
Allow paint, varnish, and glue to dry completely, which may take several hours depending on the materials used.