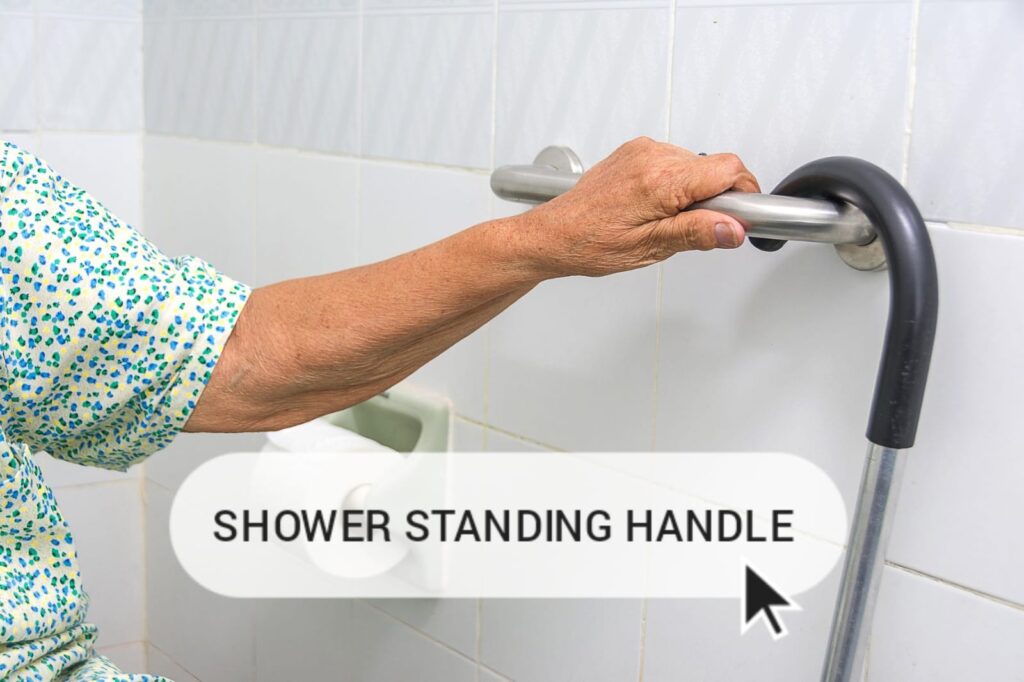
Installing a shower standing handle is a simple yet effective way to enhance safety and stability in your bathroom. Whether you’re adding one for yourself or a loved one, the right handle can prevent accidents and make your showering experience more secure. In this guide, we’ll walk you through easy installation tips for your new shower standing handle to ensure a smooth process and optimal results.
Why Install a Shower Standing Handle?
Before diving into the installation process, it’s essential to understand why a shower standing handle is a worthwhile addition to your bathroom. Here are some key benefits:
- Increased Safety: A shower standing handle helps prevent slips and falls by providing a stable grip when entering or exiting the shower.
- Enhanced Accessibility: For elderly or disabled individuals, a standing handle offers crucial support and independence.
- Versatility: Standing handles can be placed in various locations to assist with different movements and positions.
Choosing the Right Shower Standing Handle
Before installing, it’s important to choose the right handle for your needs. Here are some factors to consider:
- Material: Handles come in various materials, including stainless steel, plastic, and aluminum. Stainless steel is durable and resistant to rust, making it a popular choice.
- Weight Capacity: Ensure the handle can support the weight of the users. Check the product specifications for weight limits.
- Design: Choose a handle with a design that complements your bathroom décor and provides the type of grip that suits your needs.
- Installation Type: There are two main types of shower handles:
- Suction Cup Handles: These are easy to install and reposition but may not be as durable.
- Screw-Mounted Handles: These require drilling but offer a more permanent and secure installation.
Preparation for Installation
- Gather Your Tools: Depending on your chosen handle type, you may need a drill, screwdriver, tape measure, level, pencil, and screws. For suction cup handles, you’ll need a clean, flat surface.
- Clean the Installation Area: Ensure the shower wall is clean and dry. For suction cup handles, wipe the area with rubbing alcohol to remove any residue or moisture.
- Measure and Mark: Determine the best location for the handle based on where you need support. Use a tape measure and level to mark the spots for drilling.
Installation Steps for Screw-Mounted Handles
- Mark Drill Holes: Using your measurements, mark the spots where you’ll drill the holes. Ensure the marks are level to keep the handle straight.
- Drill Holes: Carefully drill the holes into the shower wall. Use a drill bit that matches the size of the screws provided with your handle.
- Insert Anchors: If your wall material requires it (such as drywall or tiles), insert wall anchors into the drilled holes. This will provide additional support for the screws.
- Attach the Handle: Position the handle over the drilled holes and align it with the screws. Secure the handle by tightening the screws with a screwdriver.
- Check Stability: Ensure the handle is firmly attached and doesn’t wiggle. Test it by applying gentle pressure to ensure it can support weight.
Also read: Shoe Moulding 101: Enhance Your Room’s Look
Installation Steps for Suction Cup Handles
- Position the Handle: Place the suction cup handle on the desired location. Make sure the surface is clean and dry.
- Press and Secure: Press the handle firmly against the wall to create a vacuum. Engage the locking mechanism if your handle has one.
- Test the Handle: Gently pull on the handle to ensure it’s securely attached. If it moves or feels loose, reposition and repeat the process.
- Periodic Checks: Regularly check suction cup handles for stability and re-secure them if necessary.
Common Mistakes to Avoid
- Skipping Measurements: Always measure and level carefully to ensure the handle is installed correctly and securely.
- Ignoring Wall Material: Different wall materials require different installation techniques. Be sure to use the appropriate anchors or screws.
- Overlooking Safety: Test the handle thoroughly after installation to ensure it’s safe to use. If in doubt, consult a professional.
Maintenance and Care
- Regular Cleaning: Clean the handle regularly to prevent buildup of soap scum or grime. Use mild soap and water.
- Check for Wear: Inspect the handle periodically for any signs of wear or damage. Address any issues promptly to maintain safety.
- Re-secure as Needed: For suction cup handles, re-secure them periodically to ensure they remain firmly attached.
Conclusion
Installing a shower standing handle is a straightforward process that can significantly enhance the safety and accessibility of your bathroom. By choosing the right handle, preparing properly, and following these installation tips, you can ensure a secure and effective setup. Whether you opt for a screw-mounted or suction cup handle, regular maintenance will help keep it in top condition and provide continued support.
With these tips, you’re well-equipped to tackle the installation of your new shower standing handle and enjoy a safer, more comfortable bathing experience.
FAQS
1. How do I choose the right shower standing handle?
Choose a handle based on material (stainless steel for durability), weight capacity, and design. Consider whether you want a suction cup or screw-mounted handle based on permanence and ease of installation.
2. Can I install a shower standing handle myself?
Yes, installation is generally straightforward. Follow the manufacturer’s instructions carefully. For screw-mounted handles, ensure you have the proper tools and wall anchors. Suction cup handles require a clean, dry surface.
3. How do I install a screw-mounted shower standing handle?
Mark and drill holes in the shower wall, insert anchors if needed, attach the handle with screws, and tighten securely. Ensure the handle is level and stable.
4. What should I do if the suction cup handle isn’t sticking?
Ensure the surface is clean and dry. Press the handle firmly and engage the locking mechanism if available. If it’s still loose, reposition and try again.
5. How often should I check the handle for stability?
Check screw-mounted handles periodically for any looseness. For suction cup handles, check more frequently and re-secure them as needed to ensure they remain firmly attached.